
Quick answer: A hotel cabling project is ready for owner acceptance only when every installed link can be traced from its field label to a native certification result, current drawing, rack and port, correction history, warranty record, and final acceptance owner. A folder of PASS screenshots is not a complete closeout package.
Testing proves performance at a point in time. Closeout makes that evidence usable after the installation crew leaves.
That distinction matters in hotels because the same structured-cabling plant can support guest Wi-Fi, property networks, phones, cameras, television, A/V, access control, panic buttons, and other systems. When a future vendor or hotel engineer cannot connect a cable ID to its endpoint, rack, test record, and system, troubleshooting becomes a new discovery project.
The owner should be able to pick any installed cable label and follow one unbroken evidence trail from endpoint to test result to rack port.
Use these eight records to define the hotel cabling acceptance package before testing starts, not during the final week.
1. A closeout index tied to the approved scope
Begin with one index that states what the package covers. Organize it by building, floor, telecom room, system, and work phase. List the final drawing revision, approved change orders, excluded work, open owner decisions, and the person responsible for accepting each record set.
The index should distinguish structured cabling from the electronics and services that use it. For example, a tested cable to a guest-room television location does not prove the television system is commissioned. A certified access-point cable does not prove the guest Wi-Fi network is operational. The owner needs to see where cabling acceptance ends and specialty-vendor acceptance begins.
Acceptance evidence: a dated package index that matches the final contract scope and names the approving party for each section.
2. The final cable ID and port schedule
Every permanent link needs a unique identifier used consistently at the endpoint, patch panel, test result, drawing, and schedule. The record should show at least the source telecom room, rack, patch panel, port, destination room or area, endpoint type, serving system, cable type, and current status.
Hotel naming should survive operations. Labels such as camera near lobby or AP by elevator may make sense during construction but become ambiguous after furniture, signage, or room functions change. Use stable room, floor, rack, and device identifiers that the property team can understand.
Fluke Networks’ LinkWare documentation describes project organization by site, building, and customer, plus custom cable-ID sequences that help prevent skipped IDs. The important owner outcome is consistency: the identifier in the test database must be the identifier installed in the field.
Acceptance evidence: one exportable schedule with no duplicate IDs, unexplained gaps, or labels that cannot be located.
3. A native certification result for every required link
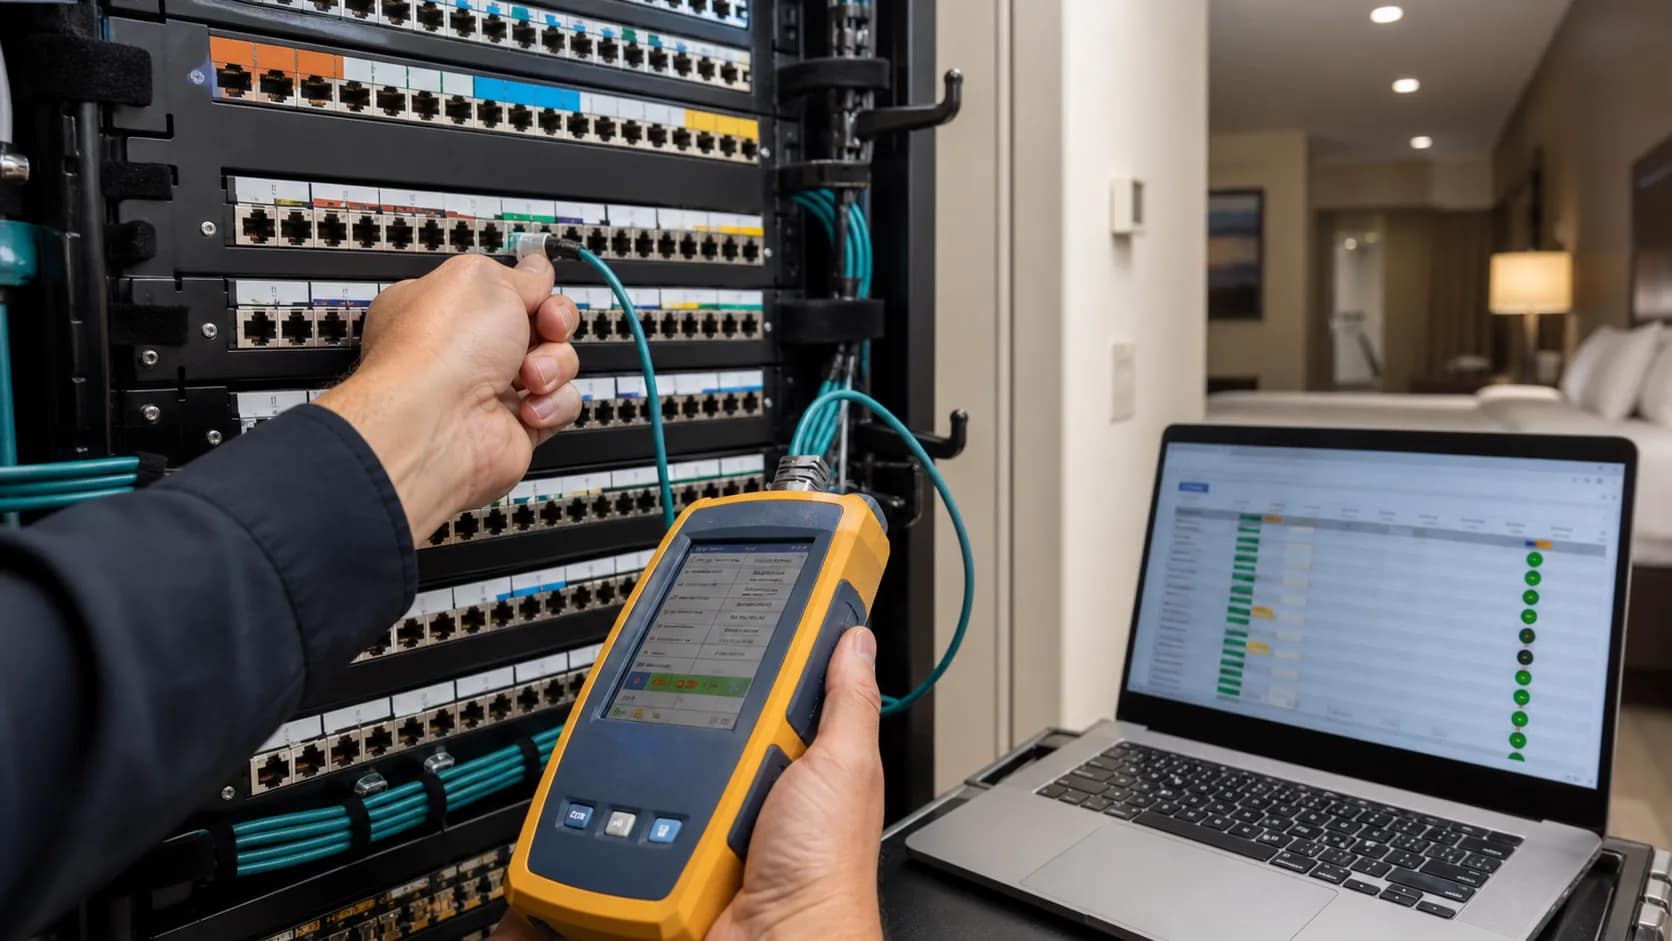
Require the actual result set from the agreed certification platform, not only phone photos, tester screenshots, or a one-page pass summary. A useful result connects the cable ID to the measured parameters, selected test limit, date and time, outcome, and tester information.
Fluke Networks explains that its DSX testers record numerical values for each parameter and pair, while LinkWare reports can identify the selected test limit, tester, calibration date, and software version. Its guidance also recommends reviewing the native FLW file when verification and data integrity matter, rather than relying only on a PDF representation.
The required test type must match the design and contract. Copper permanent-link, copper channel, fiber loss, and OTDR records answer different questions. Define the required limits, adapters, directions, wavelengths, and reporting format before technicians begin.
Acceptance evidence: a complete native result database plus a practical PDF summary, reconciled to the final cable schedule.
4. Tester configuration and calibration records
A green result is meaningful only when the test was run against the correct requirement with suitable equipment. Record the tester model and serial number, local and remote modules, adapter type, software version, selected cable and connector profile, test limit, operator, and calibration status.
Fluke Networks states that LinkWare checks imported records against the attached measurement module’s calibration date and recommends factory calibration every 12 months. Project specifications or manufacturer programs may impose additional requirements, so the acceptance criteria should follow the approved project documents.
Do not wait until closeout to discover that the wrong cable category, link model, or test limit was selected. Review a small sample of exported results at the beginning of testing and approve the format before the full property is completed.
Acceptance evidence: tester and configuration details that allow the owner, consultant, or manufacturer to understand how the result was produced.
5. Failure, correction, and retest history
The final package should not hide the work that failed before it passed. Keep a log of failed links, the observed issue, corrective action, responsible party, retest date, and final result reference. Typical corrections may include retermination, replacement, pathway repair, label correction, or a documented design change.
This history protects the owner from accepting a clean-looking final summary that cannot explain missing IDs or repeated work. It also gives future support teams useful context when a location has experienced damage, route changes, or unusual field conditions.
When a result is re-evaluated against a different standard or setting, retain the original record and identify the new record clearly. Fluke Networks’ re-certification guidance notes that customer acceptance criteria should be agreed before testing because not every original result contains the measurements needed for a different limit.
Acceptance evidence: a closed exception log in which every failed or missing link has a documented disposition.
6. Current as-builts, rack elevations, and photo evidence
Update drawings to the installation that exists, including MDF and IDF assignments, backbone routes, horizontal pathways, rack layouts, patch-panel positions, splice or enclosure locations, and approved field changes. Do not submit the original design set as an as-built package when routes or endpoints moved.
Add indexed photos where a drawing alone cannot prove the condition. Useful examples include concealed pathway before closure, service-entrance work, firestopping, rack bonding, fiber enclosures, labeled patch panels, equipment-room overviews, and atypical endpoint details.
Photos should identify location and date and should connect back to the drawing or issue log. A large unorganized photo folder creates storage, not evidence.
Acceptance evidence: final PDFs and editable source files, current rack elevations, and a location-indexed photo set that agree with the cable schedule.
7. Manufacturer warranty submission and certificate status
Testing is an input to a system warranty, not the warranty itself. Confirm the eligible products, accredited installer, required result format, registration process, submission owner, exceptions, and expected certificate before project close.
Panduit states that its Certification Plus System Warranty is a standards-based performance warranty available in 15-, 20-, or 25-year terms for eligible systems. It requires an accredited Panduit ONE partner, and the end-user certificate is issued after the installation is registered and validated by Panduit.
For a JET Panduit-certified project, track the submission as a closeout deliverable with a named owner and status. Do not describe the warranty as complete merely because field testing is complete.
Acceptance evidence: submitted registration package, manufacturer exceptions resolved or documented, and the final certificate or a dated pending-certificate record.
8. Owner acceptance, punch list, and operating handoff
Finish with a joint review that connects the records to the installed work. Sample labels in guest rooms, public areas, back-of-house spaces, and telecom rooms. Trace them through the schedule, drawing, native result, rack port, and serving system. Verify that the property can open the files with the software or viewer provided.
Record remaining punch items with location, owner, due date, operational effect, and acceptance condition. Separate cabling defects from active-equipment commissioning, carrier activation, brand-system approval, and user training so responsibilities remain clear.
The handoff should also identify warranty contacts, support escalation, spare materials, approved changes, and where the master files will be maintained. If the only complete package remains on a contractor’s laptop, the owner has not received an operating asset.
Acceptance evidence: an acknowledged acceptance record, closed or controlled punch list, file-location handoff, and named support path.
A practical acceptance sequence
- Before installation: approve the label convention, required test limits, result format, warranty path, drawing standard, and closeout owner.
- At the start of testing: review a small sample export and trace several real labels through the proposed package.
- During installation: maintain failure logs, photos, drawing markups, and change records while the evidence is easy to capture.
- Before substantial completion: reconcile installed-link counts, IDs, native results, as-builts, exceptions, and warranty status.
- At handoff: perform a field sample with the owner and transfer usable master files, not only presentation PDFs.
The five-minute owner check
Select five cable IDs from different floors and systems. For each one, ask:
- Can we locate both ends in the field?
- Does the same ID appear on the drawing, port schedule, and native test result?
- Was it tested to the approved limit with traceable equipment?
- Were failures or field changes documented?
- Is it included in the applicable warranty and owner acceptance record?
If the evidence trail breaks, the package needs reconciliation before final acceptance.
This closeout standard follows the same logic as JET’s hotel low-voltage responsibility matrix and MDF and IDF readiness checklist: define ownership, verify field conditions, and preserve the evidence needed for the next handoff.
JET Hotel Solutions helps hotel owners coordinate low-voltage scope, take-offs, pathways, installation, testing, specialty vendors, change control, and closeout for new builds and renovations. Explore JET’s hotel low-voltage services and project delivery process.